# Setup
URL: /docs/getting-started/setup
Source: /vercel/path0/docs/content/docs/(guides)/getting-started/setup.mdx
***
## title: Setup
### Prerequisites
Before getting started, make sure you have a project set up for your chosen platform:
* **Next.js**: A [Next.js project](https://nextjs.org/docs/getting-started/installation) using the app router (Stack Auth does not support the pages router on Next.js)
* **React**: A [React project](https://react.dev/learn/creating-a-react-app) (we show examples with Vite)
* **JavaScript**: A Node.js project with Express
* **Python**: A Python environment with your chosen framework (Django, FastAPI, or Flask)
We recommend using our **setup wizard** for JavaScript frameworks for a seamless installation experience. For Python, we recommend using the REST API approach.
### Setup Wizard / Manual Installation
Setup wizard (recommended for JS)
Manual installation
### Run installation wizard
The setup wizard is available for JavaScript/TypeScript frameworks. For Python projects, please use the manual installation method.
Run Stack's installation wizard with the following command:
```sh title="Terminal"
npx @stackframe/init-stack@latest
```
### Update API keys
Create an account on [the Stack Auth dashboard](https://app.stack-auth.com/projects), create a new project with an API key, and copy its environment variables into the appropriate configuration file:
### Done!
That's it! The wizard should have created or updated the following files in your project:
**For Next.js:**
* `app/handler/[...stack]/page.tsx`: Default pages for sign-in, sign-out, account settings, and more
* `app/layout.tsx`: Updated to wrap the entire body with `StackProvider` and `StackTheme`
* `app/loading.tsx`: Suspense boundary for Stack's async hooks
* `stack/server.ts`: Contains the `stackServerApp` for server-side usage
* `stack/client.ts`: Contains the `stackClientApp` for client-side usage
**For React:**
* `stack/client.ts`: Contains the `stackClientApp` configuration
* Your app should be wrapped with `StackProvider` and `StackTheme`
**For Node.js/Express:**
* `stack/server.ts`: Contains the `stackServerApp` configuration
Note: The setup wizard also supports existing, complicated projects. Cases where manual installation is necessary are rare for JavaScript frameworks.
### Install package
First, install the appropriate Stack package:
### Create API keys
[Register a new account on Stack](https://app.stack-auth.com/handler/sign-up), create a project in the dashboard, create a new API key from the left sidebar, and copy the project ID, publishable client key, and secret server key.
### Configure environment variables
Set up your environment variables or configuration:
### Create Stack configuration
Create the Stack app configuration:
### Set up authentication handlers (Frontend frameworks only)
For JavaScript frameworks, create the authentication handler:
### Add providers (Next.js and React only)
For Next.js and React, wrap your app with Stack providers:
### Add loading boundary (Next.js only)
For Next.js, add a Suspense boundary:
### Add suspense boundary (React only)
For React, add a suspense boundary:
### Done!
## Post-setup
That's it! Stack is now configured in your project.
### Testing your setup
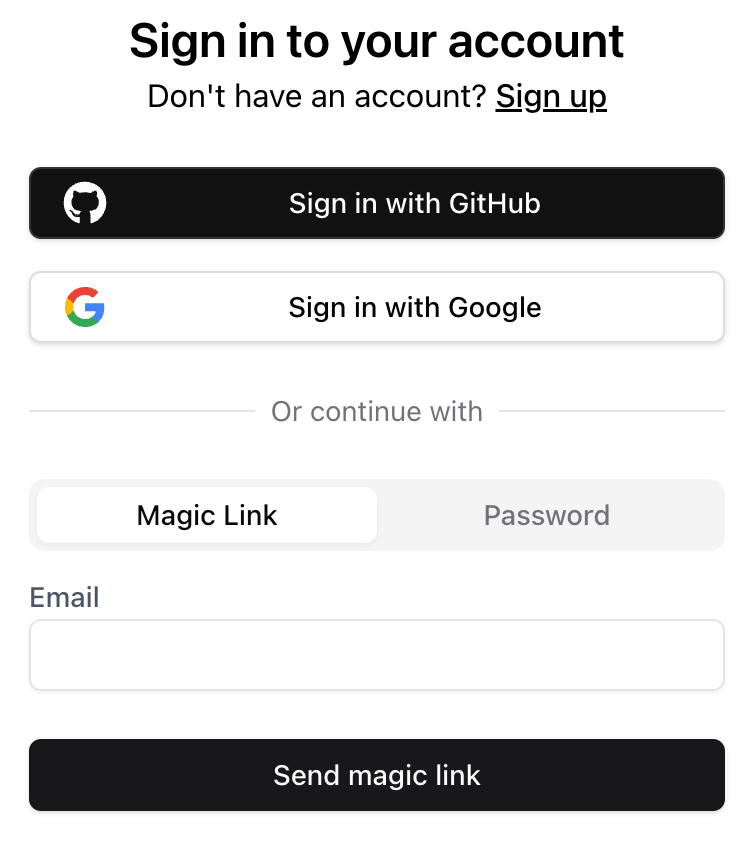
### What you'll see
For JavaScript frameworks with built-in UI components, you'll see the Stack Auth sign-up page:
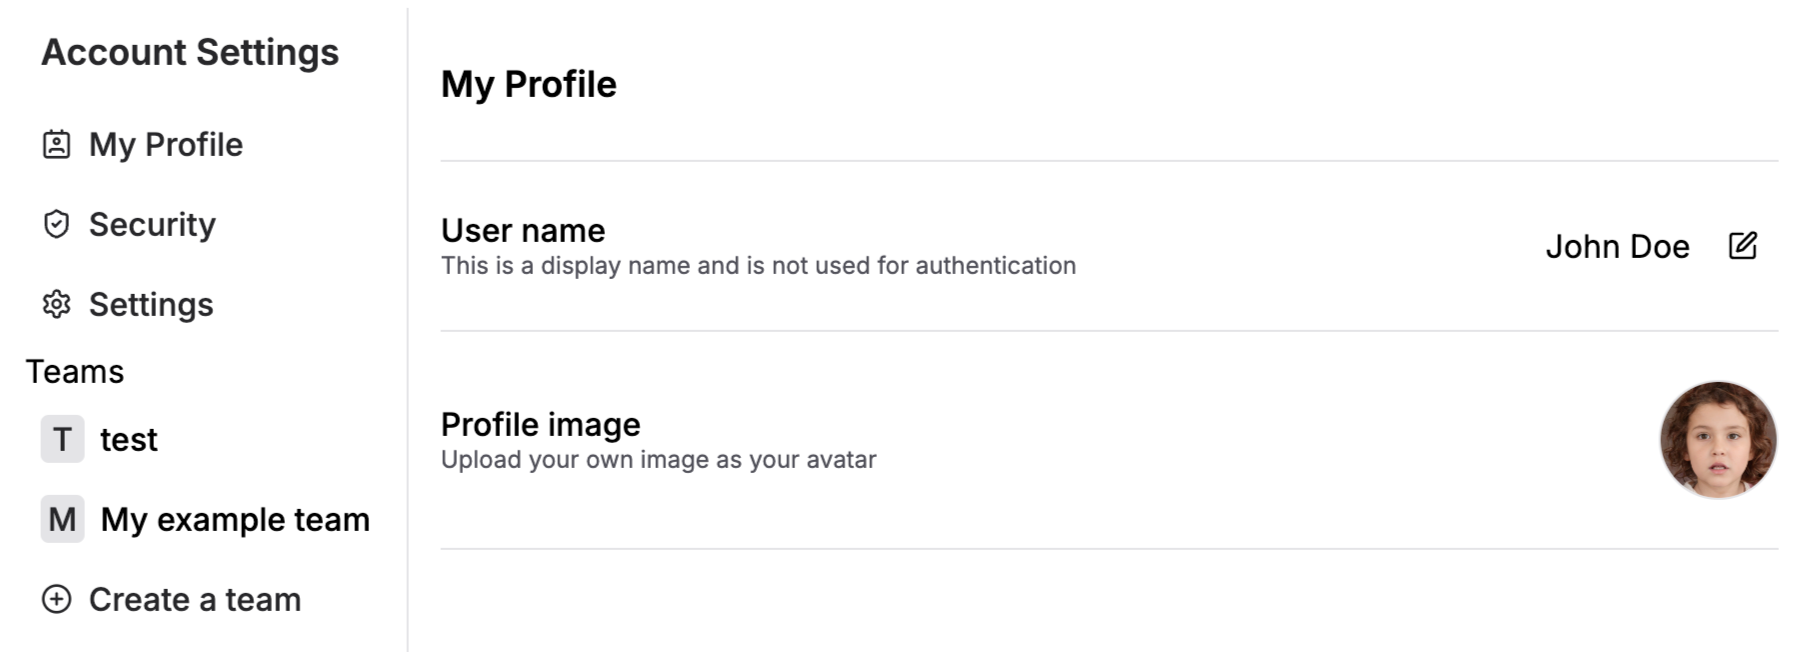
 After signing up/in, you will be redirected back to the home page. You can also check out the account settings page.
 For Python and backend-only JavaScript setups, you'll interact with Stack Auth through the REST API.
## Example usage
Here are some basic usage examples for each platform:
## Next steps
Next up, we will show you how to [retrieve and update user information](./users.mdx), and how to [protect a page](./users.mdx#protecting-a-page) from unauthorized access.
For Python developers, check out the [REST API documentation](../rest-api/overview.mdx) to learn more about the available endpoints and how to use them in your Python application.
For Python and backend-only JavaScript setups, you'll interact with Stack Auth through the REST API.
## Example usage
Here are some basic usage examples for each platform:
## Next steps
Next up, we will show you how to [retrieve and update user information](./users.mdx), and how to [protect a page](./users.mdx#protecting-a-page) from unauthorized access.
For Python developers, check out the [REST API documentation](../rest-api/overview.mdx) to learn more about the available endpoints and how to use them in your Python application.