Setup
Welcome to the Next.js SDK setup guide. If you're looking for guides for other frameworks, check out the React SDK Setup, or the JavaScript SDK Setup.
Setup
Before getting started, make sure you have a Next.js project using the app router, as Stack Auth does not support the pages router.
We recommend using our setup wizard for a seamless installation experience. The wizard automatically detects your project structure and walks you through the setup process. If you encounter any issues with the wizard, you can follow our manual installation steps instead.
Run Stack's installation wizard with the following command:
npx @stackframe/init-stack@latestThen, create an account on the Stack Auth dashboard, create a new project with an API key, and copy its environment variables into the .env.local file of your Next.js project:
NEXT_PUBLIC_STACK_PROJECT_ID=<your-project-id>
NEXT_PUBLIC_STACK_PUBLISHABLE_CLIENT_KEY=<your-publishable-client-key>
STACK_SECRET_SERVER_KEY=<your-secret-server-key>That's it! The following files should have been created or updated in your project:
app/handler/[...stack]/page.tsx: This file contains the default pages for sign-in, sign-out, account settings, and more. If you prefer, later you will learn how to use custom pages instead.app/layout.tsx: The layout file was updated to wrap the entire body withStackProviderandStackTheme.app/loading.tsx: If not yet found, Stack automatically adds a Suspense boundary to your app. This is shown to the user while Stack's async hooks, likeuseUser, are loading.stack/server.ts: This file contains thestackServerAppwhich you can use to access Stack from Server Components, Server Actions, API routes, and middleware.stack/client.ts: This file contains thestackClientAppwhich you can use to access Stack from Client Components
Post-setup
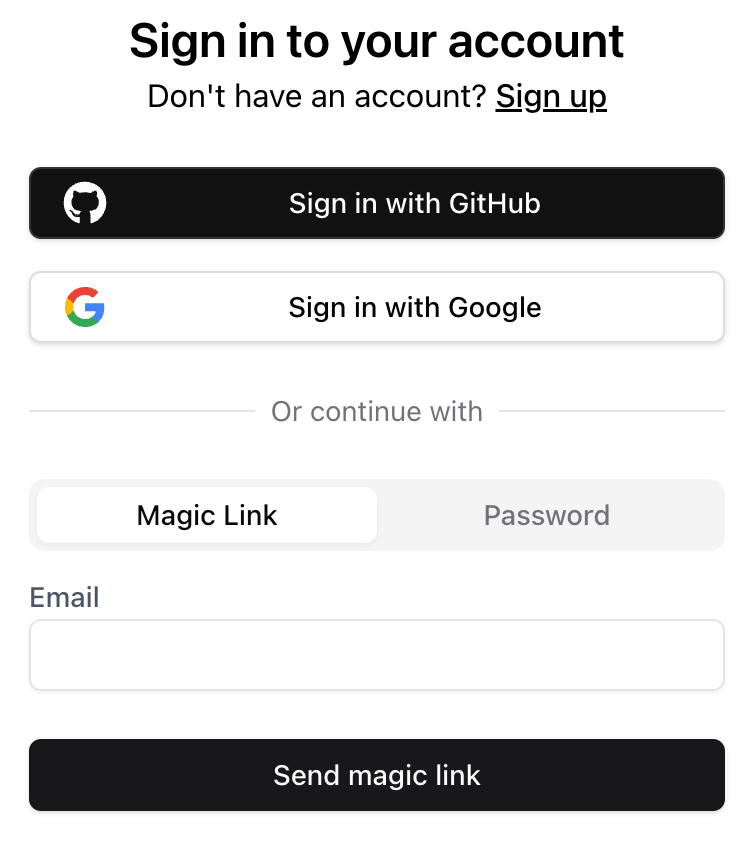
That's it! Stack is now configured in your Next.js project. If you start your Next.js app with npm run dev and navigate to http://localhost:3000/handler/signup, you will see the sign-up page.
After signing up/in, you will be redirected back to the home page. We will show you how to add user information to it in the next section. You can also check out the http://localhost:3000/handler/account-settings page which looks like this:

Next steps
Next up, we will show you how to retrieve and update user information, and how to protect a page from unauthorized access.