Setup
Welcome to the React SDK setup guide! If you're looking for guides for other frameworks, check out the Next.js SDK Setup, or the JavaScript SDK Setup.
Before getting started, make sure you have a React project setup. We show an example here of a Vite React project.
We recommend using our setup wizard for a seamless installation experience. The wizard automatically detects your project structure and walks you through the setup process. If you encounter any issues with the wizard, you can follow our manual installation steps instead.
Run Stack's installation wizard with the following command:
npx @stackframe/init-stack@latestThen, create an account on the Stack Auth dashboard, create a new project with an API key, and copy its values into the stack/client.ts file created by the wizard.
This example uses react-router, but all React apps should wrap the app with StackProvider and StackTheme.
import { StackHandler, StackProvider, StackTheme } from "@stackframe/react";
import { Suspense } from "react";
import { BrowserRouter, Route, Routes, useLocation } from "react-router-dom";
import { stackClientApp } from "./stack/client";

function HandlerRoutes() {
  const location = useLocation();
  return (
    <StackHandler app={stackClientApp} location={location.pathname} fullPage />
  );
}

export default function App() {
  return (
    <Suspense fallback={null}>
      <BrowserRouter>
        <StackProvider app={stackClientApp}>
          <StackTheme>
            <Routes>
              <Route path="/handler/*" element={<HandlerRoutes />} />
              <Route path="/" element={<div>hello world</div>} />
            </Routes>
          </StackTheme>
        </StackProvider>
      </BrowserRouter>
    </Suspense>
  );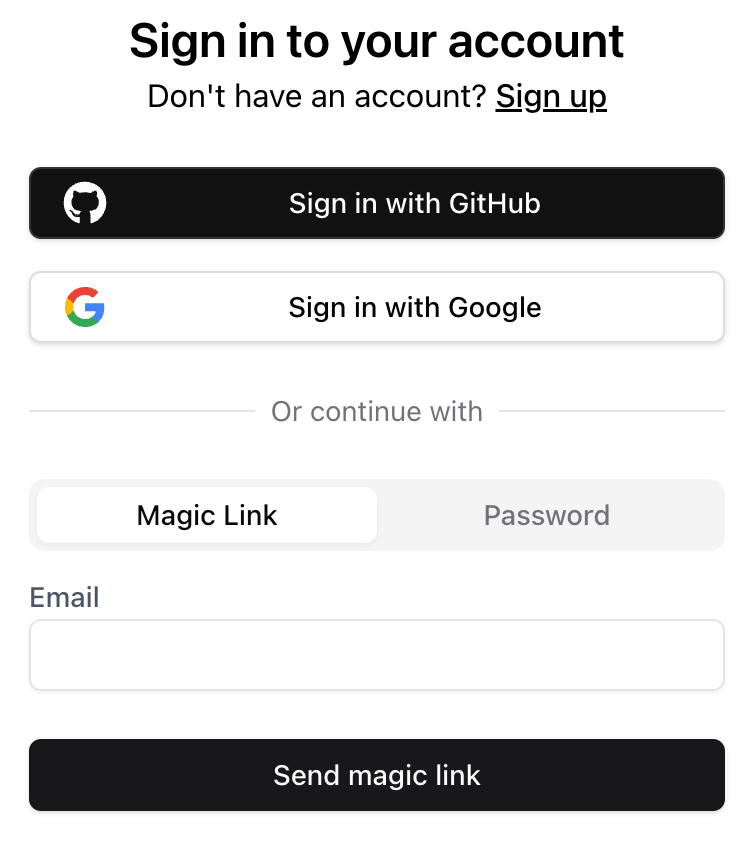
}That's it! Stack is now configured in your React project. If you start your app and navigate to http://localhost:5173/handler/sign-up, you will see the sign-up page.
After signing up/in, you will be redirected back to the home page. You can also check out the http://localhost:5173/handler/account-settings page.